Chevron Notch
Precision, Innovation, Options, Cost Savings
Our work speaks for itself and our customers willingly talk about us!
“A recent job required precise chevron-notching of several bars made from different materials. That seems simple enough but we had some unique concerns. Cost was an issue so we needed alternative approaches, but we were already behind schedule. Bomas was very helpful in not only discussing options but showing us samples for initial testing with no delay in overall scheduling.”
Materials Engineer, Northeast Materials Manufacturer
Work in Budget
The Bomas Advantage
Unique Abilities • Test Before You Order • Track Your Project

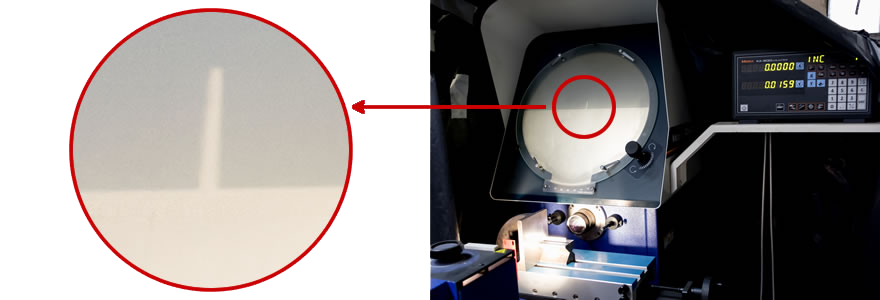
Optical Comparator – used for intricate measurement of grooves (notches) and a variety of other precision machined shapes. An optical comparator (often called just a comparator in context) or profile projector is a device that applies the principles of optics to the inspection of machined parts.
Chevron Notch Cut Into a Ceramic Material Bar
Machined per ASTM C 1421 standards. This photo illustrates the actual Chevron-Notch we machine into a bar. This is a Standard Test Method of Fracture Toughness of Advanced Ceramics.
“CHEVRON” refers to the actual shape of the notch after machining.

Chevron Notch FAQs
What are your machining tolerances for chevron notched test specimens?
We follow the ASTM C1421 standard.
Can you machine chevron notch flexure specimens out of fully-stabilized zirconia?
Yes, we can do that.
I am preparing technical ceramics (carbides) for characterization of fracture toughness according to ASTM C1421. Is Bomas able to cut and machine to the coupon dimensions needed for the test, followed by the Chevron‐notched creation, assuming a block of 50x50x20mm of ceramic is provided?
Yes. Our services commonly include several machining requirements on the same specimen.


